AstroPaper очень гибкая темя для блога на Astro. С ней вы можете настроить абсолютно все на свой собственный вкус. В этой статье объясняется, как легко все настроить через файл конфигурации
Table of contents
Открыть содержание
Конфигурация сайта
Важная конфигурационная информация содержится в src/config.ts файле. В указанном файлу вы найдете объект SITE, изменяя который, настраивается основная конфигурация вашего проекта.
В процессе разработки нормально оставить поле SITE.website пустым. Однако, при запуске в продакшен следует обязательно указать url своего сайта в поле SITE.website, так как это важно для SEO.
// файл: src/config.ts
export const SITE = {
  website: "https://astro-paper.pages.dev/",
  author: "Sat Naing",
  desc: "A minimal, responsive and SEO-friendly Astro blog theme.",
  title: "AstroPaper",
  ogImage: "astropaper-og.jpg",
  lightAndDarkMode: true,
  postPerPage: 3,
  scheduledPostMargin: 15 * 60 * 1000, // 15 минут
  showArchives: true,
  editPost: {
    url: "https://github.com/satnaing/astro-paper/edit/main/src/content/blog",
    text: "Suggest Changes",
    appendFilePath: true,
  },
};
В таблице ниже представлены опции конфигурации сайта:
| Опция | Описание |
|---|---|
website | URL вашего веб-сайта |
author | Ваше имя |
desc | Описание сайта. Полезно для SEO социальных сетей. |
title | Название сайта |
ogImage | Дефолтное OG изображение. Полезно для публикации в соцсетях. OG изображение может быть внешним url либо размещенным в директории /public |
lightAndDarkMode | Включить или выключить светлую или темную тему для сайта. Если выключено, то будет использоваться основная цветовая схема. По умолчанию опция включена. |
postPerIndex | Количество постов для отображения на главной странице. |
postPerPage | Количество постов, отображающихся на странице /posts. (например, если указать SITE.postPerPage: 3, на каждой странице будет отображаться только 3 публикации) |
scheduledPostMargin | In Production mode, posts with a future pubDatetime will not be visible. However, if a post’s pubDatetime is within the next 15 minutes, it will be visible. You can set scheduledPostMargin if you don’t like the default 15 minutes margin. |
showArchives | Determines whether to display the Archives menu (positioned between the About and Search menus) and its corresponding page on the site. This option is set to true by default. |
editPost | This option allows users to suggest changes to a blog post by providing an edit link under blog post titles. This feature can be disabled by removing it from the SITE config. You can also set appendFilePath to true to automatically append the file path of the post to the url, directing users to the specific post they wish to edit. |
Configuring locale
You can configure the default locale used for the build (e.g., date format in the post page), and for the rendering in browsers (e.g., date format in the search page)
// file: src/config.ts
export const LOCALE = {
  lang: "en", // html lang code. Set this empty and default will be "en"
  langTag: ["en-EN"], // BCP 47 Language Tags. Set this empty [] to use the environment default
} as const;
LOCALE.lang will be used as HTML ISO Language code in <html lang="en">. If you don’t specify this, default fallback will be set to en.
LOCALE.langTag is used as datetime locale. For this, you can specify an array of locales for fallback languages. Leave LOCALE.langTag empty [] to use the environment default at build- and run-time.
Configuring logo or title
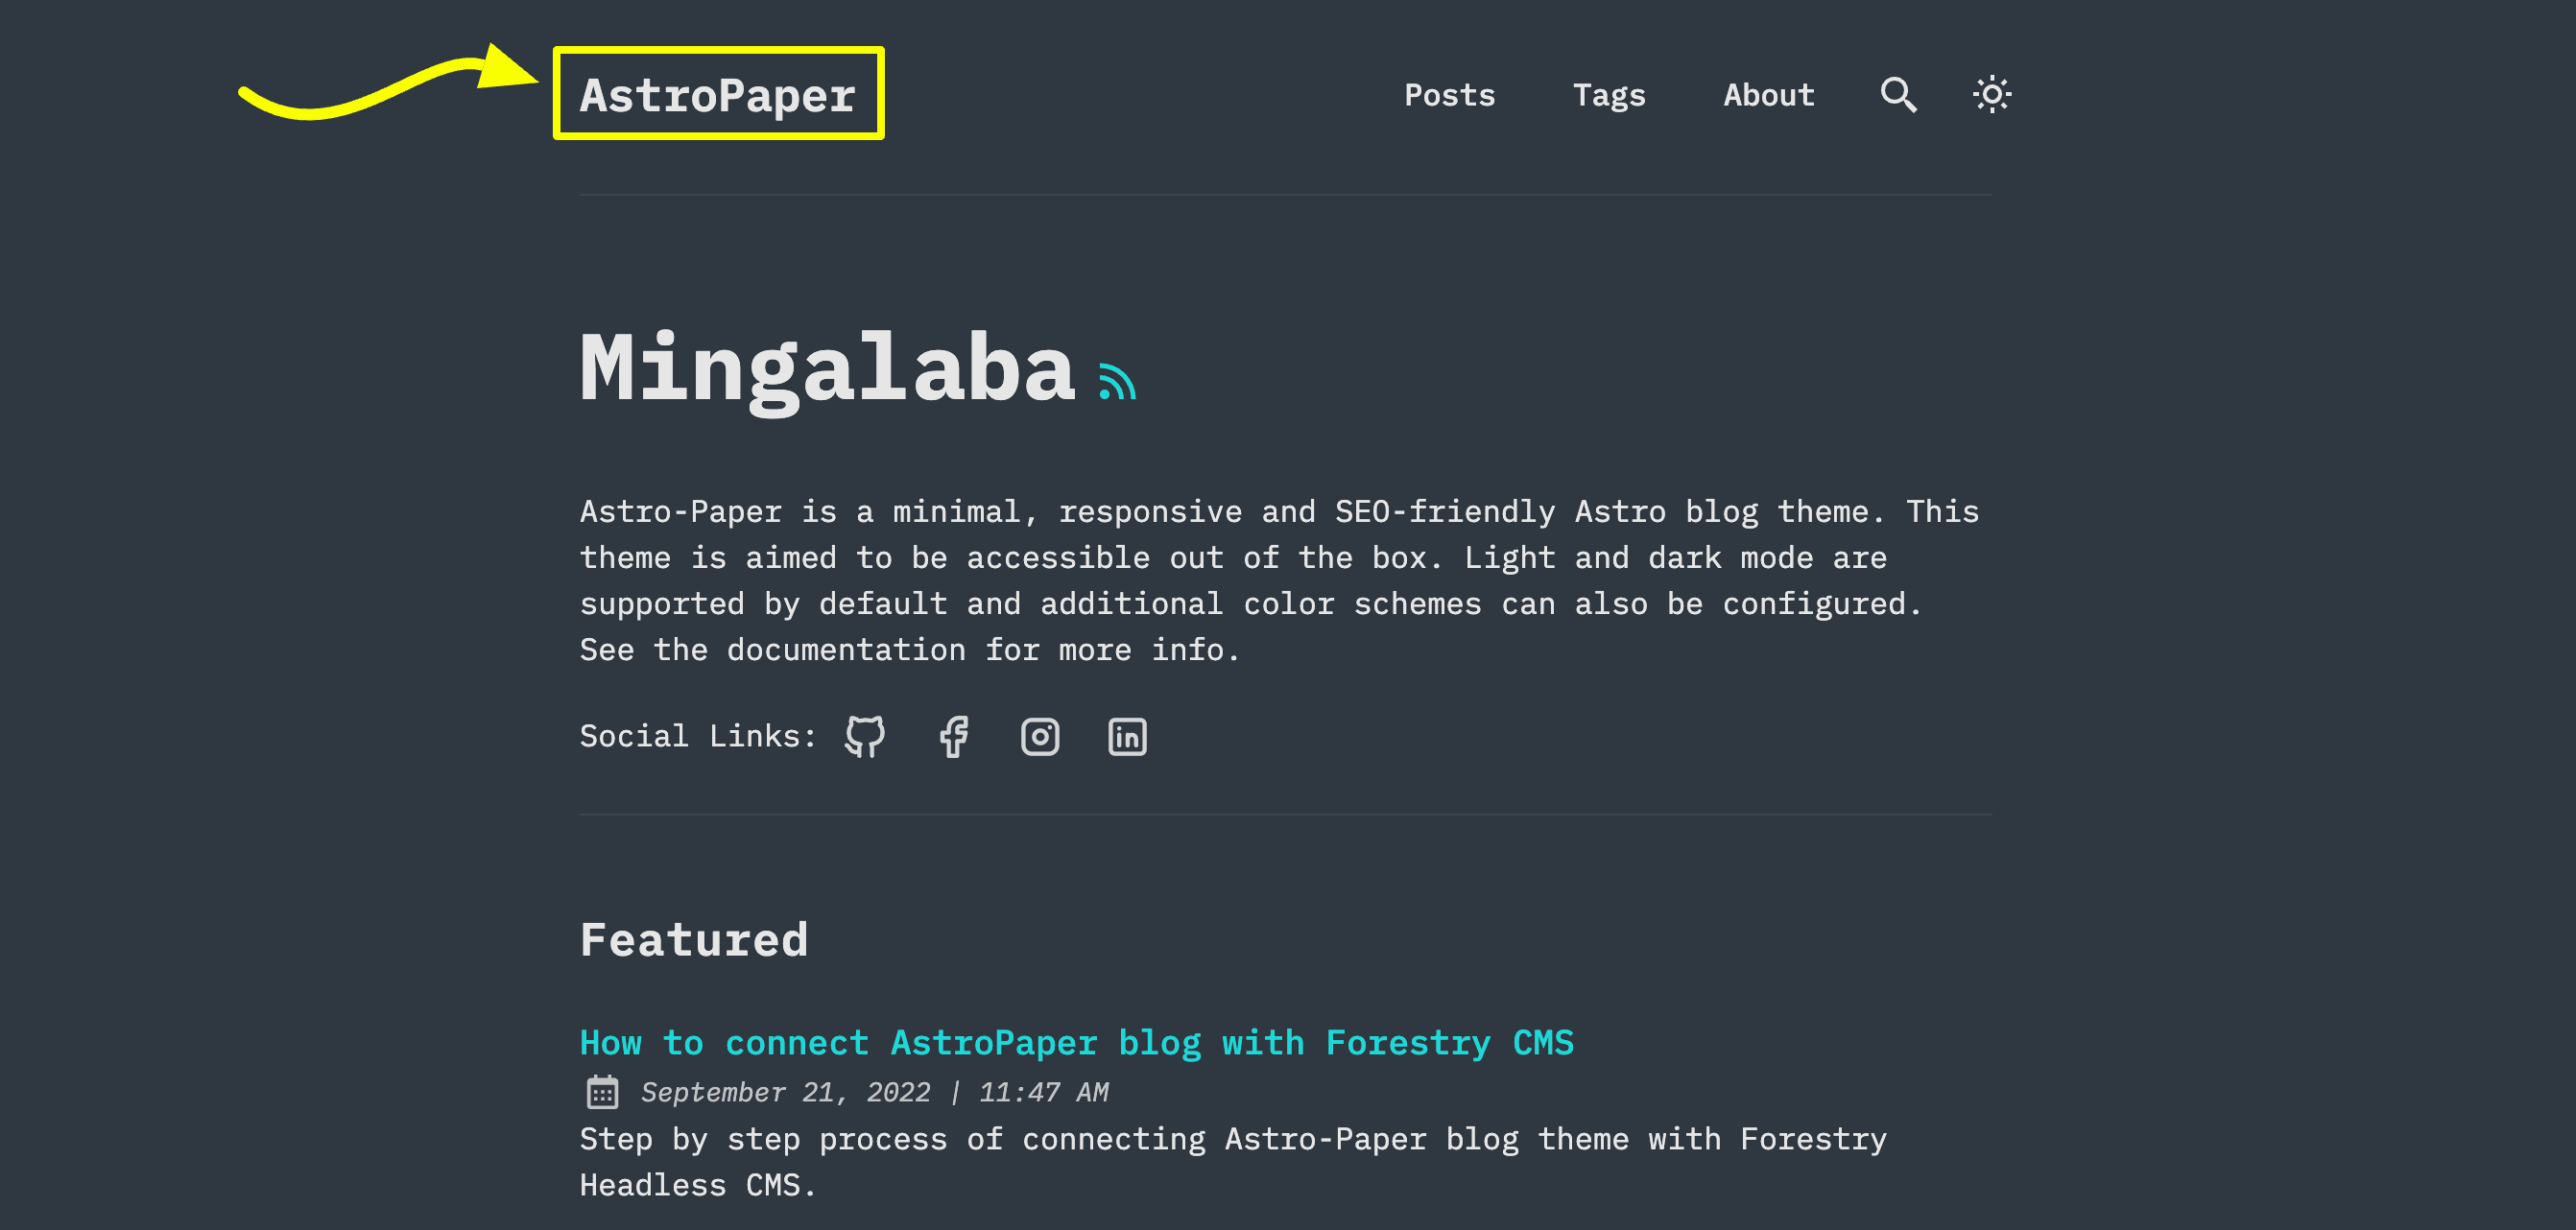
You can specify site’s title or logo image in src/config.ts file.

// file: src/config.ts
export const LOGO_IMAGE = {
  enable: false,
  svg: true,
  width: 216,
  height: 46,
};
If you specify LOGO_IMAGE.enable => false, AstroPaper will automatically convert SITE.title to the main site text logo.
If you specify LOGO_IMAGE.enable => true, AstroPaper will use the logo image as the site’s main logo.
You have to specify logo.png or logo.svg under /public/assets directory. Currently, only svg and png image file formats are supported. (Important! logo name has to be logo.png or logo.svg)
If your logo image is png file format, you have to set LOGO_IMAGE.svg => false.
It is recommended that you specify width and height of your logo image. You can do that by setting LOGO_IMAGE.width and LOGO_IMAGE.height
Configuring social links
You can configure your own social links along with its icons.

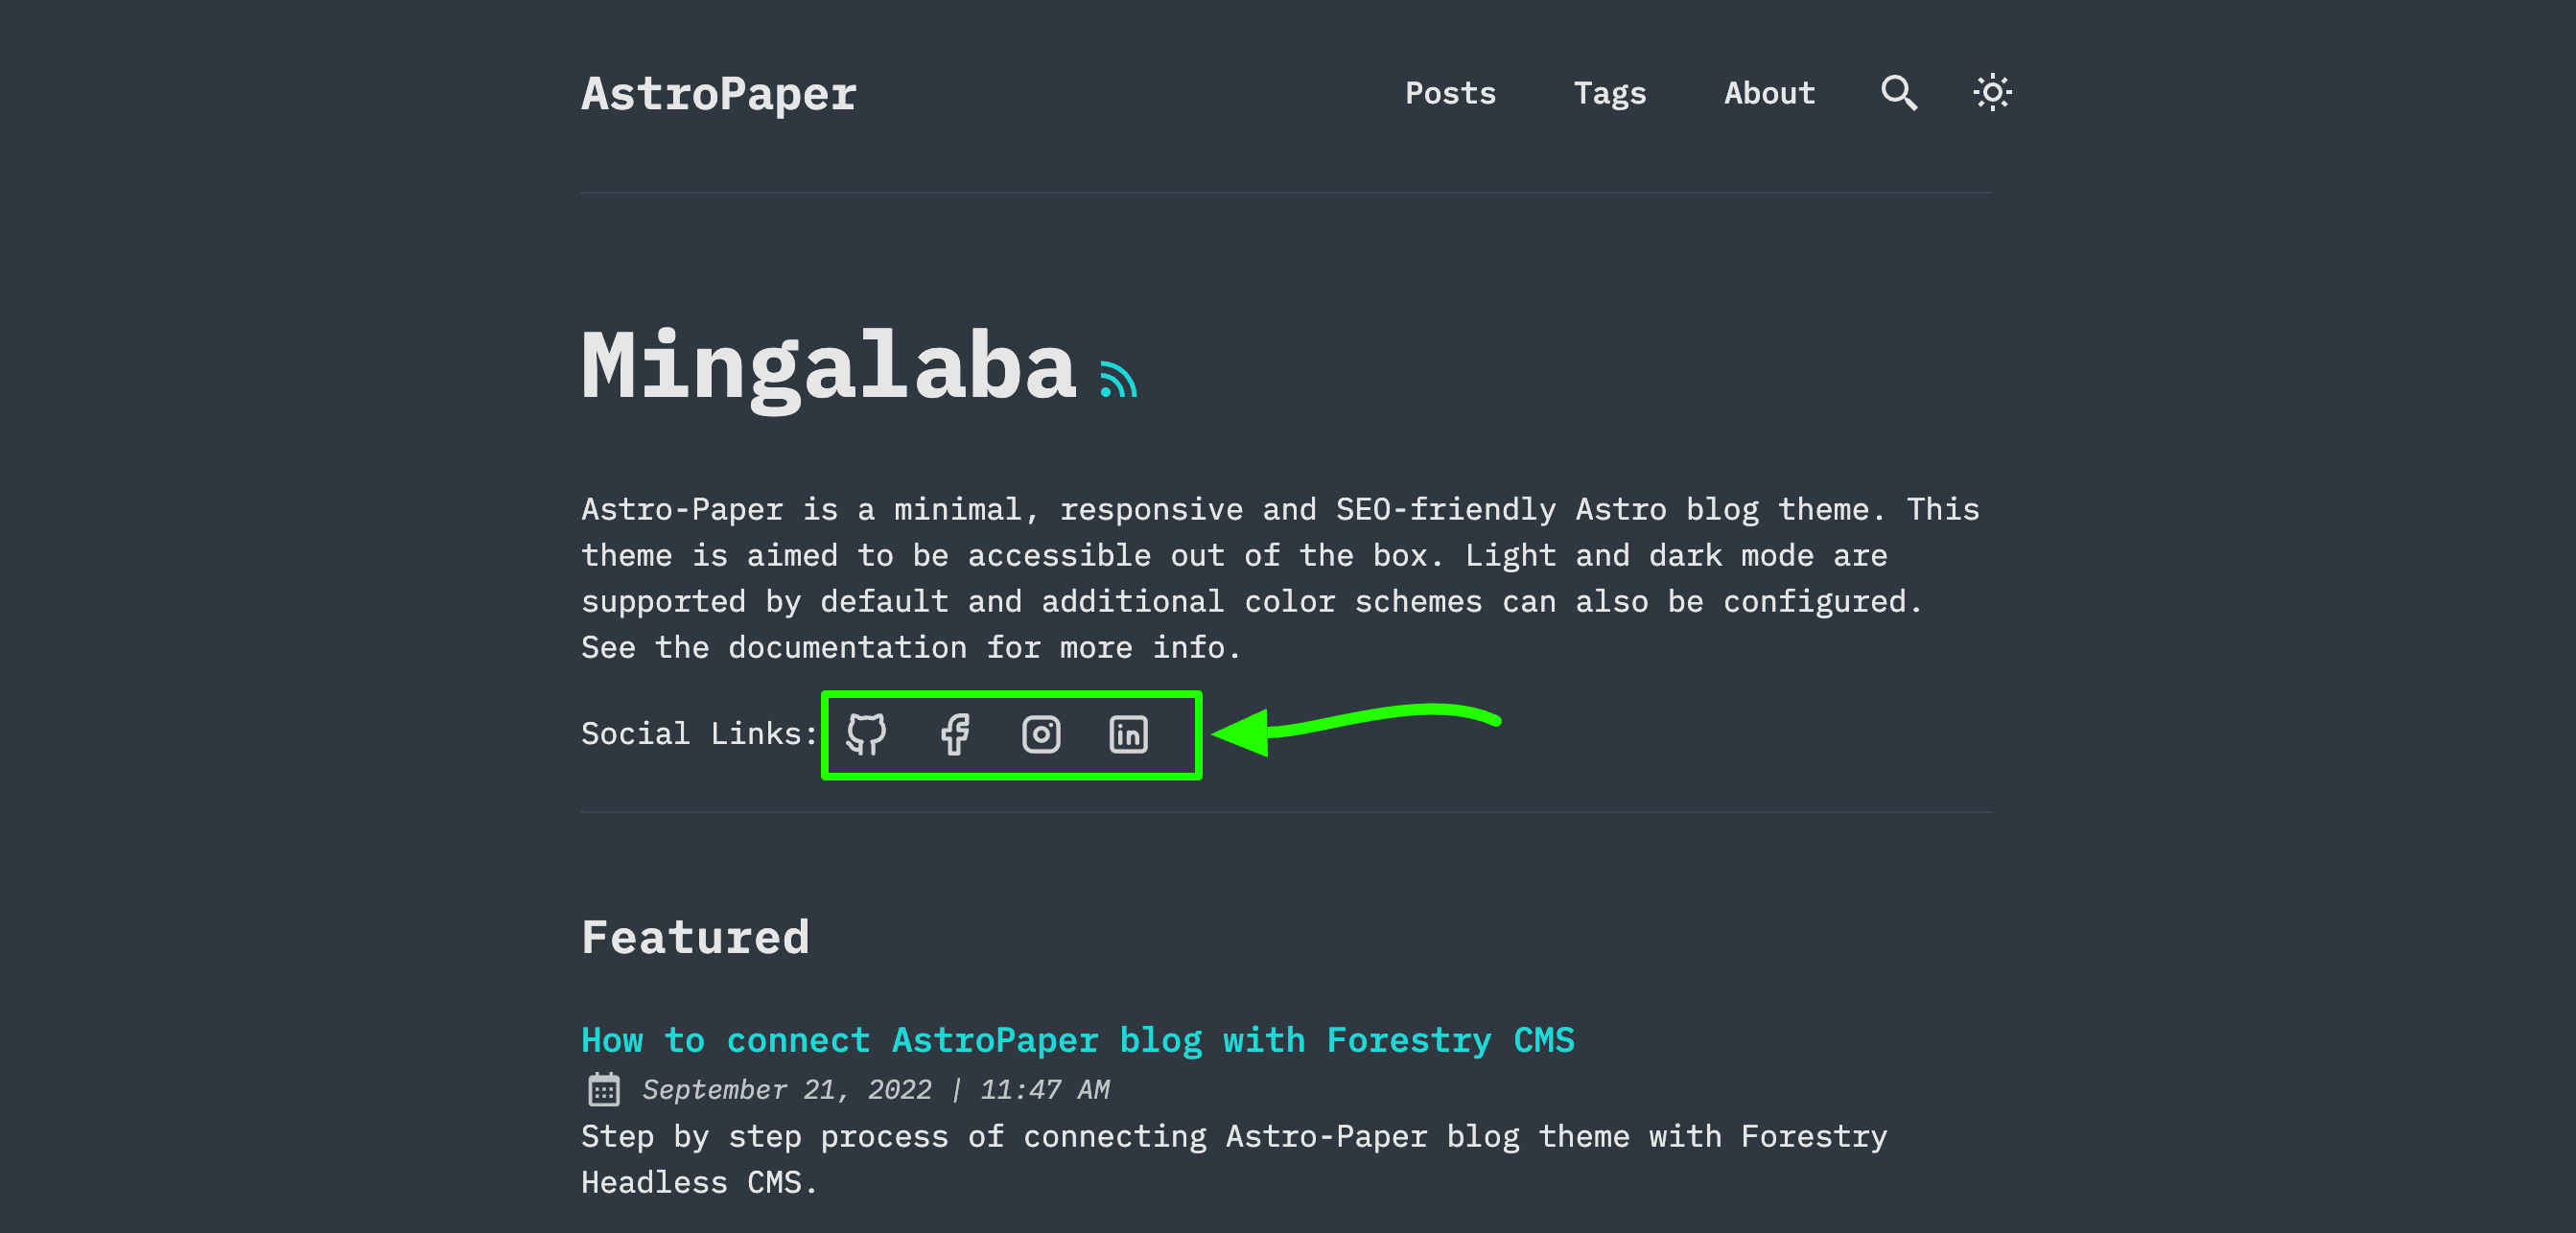
Currently 20 social icons are supported. (Github, LinkedIn, Facebook etc.)
You can specify and enable certain social links in hero section and footer. To do this, go to /src/config.ts and then you’ll find SOCIALS array of object.
// file: src/config.ts
export const SOCIALS: SocialObjects = [
  {
    name: "Github",
    href: "https://github.com/satnaing/astro-paper",
    linkTitle: ` ${SITE.title} on Github`,
    active: true,
  },
  {
    name: "Facebook",
    href: "https://github.com/satnaing/astro-paper",
    linkTitle: `${SITE.title} on Facebook`,
    active: true,
  },
  {
    name: "Instagram",
    href: "https://github.com/satnaing/astro-paper",
    linkTitle: `${SITE.title} on Instagram`,
    active: true,
  },
  ...
]
You have to set specific social link to active: true in order to appear your social links in hero and footer section. Then, you also have to specify your social link in href property.
For instance, if I want to make my Github appear, I’ll make it like this.
export const SOCIALS: SocialObjects = [
  {
    name: "Github",
    href: "https://github.com/satnaing", // update account link
    linkTitle: `${SITE.title} on Github`, // this text will appear on hover and VoiceOver
    active: true, // makre sure to set active to true
  }
  ...
]
Another thing to note is that you can specify the linkTitle in the object. This text will display when hovering on the social icon link. Besides, this will improve accessibility and SEO. AstroPaper provides default link title values; but you can replace them with your own texts.
For example,
linkTitle: `${SITE.title} on Twitter`,
to
linkTitle: `Follow ${SITE.title} on Twitter`;
Conclusion
This is the brief specification of how you can customize this theme. You can customize more if you know some coding. For customizing styles, please read this article. Thanks for reading.✌🏻